Wednesday, December 31, 2014

Meatballs

Happy New Year! Well, almost.

I was never much for New Years resolutions, but in 2014 I decided I needed a way of keeping track of the wonderful food dishes I've created and wanted to share my experiences with anyone who wanted to join. This blog was my resolution and I'm happy and even a little surprised to say I stuck with it. 15, well I guess now 16, posts over the course of a year, I averaged over the 1 per month quota I gave myself and for that I am proud.

So now for 2015 I will to continue to resolve to cook more delicious food and document it for not only myself, but for those who are there to eat it or want to attempt to make it themselves. Or for those who just enjoy reading and supporting my journey.


Now, let's eat!


Meatballs 

I am a homemade meatball purist; I have to admit I cringe a little at the sight of a package of frozen meatballs. OK, I admit, I'm am kind of a meatball snob. But I blame it on the technique I've learned my from my step-dad, which I will share today. I do have to brag, these are my favorite variety. My roommate has another family recipe, which supposedly came from Gene Stapleton somehow, that comes in at a close second. Both use the same basic formula, but have different and unique flavors. So when meatballs are being made at my house, it's usually a meatball-off, one versus the other.

From the piece of notebook paper on my fridge, here is my version, adapted from Damian Schmitt's recipe.

3 lbs ground chuck
2 sleeves of saltine crackers, finely crushed
1 medium onion, finely chopped
2 eggs
1-2 cloves minced garlic
salt and pepper
fresh basil, finely chopped


And from the mind of my roommate, adapted from Gene Stapleton's recipe

3 lbs ground chuck
1 sleeve of cocktail rye bread, crumbled
1 medium onion
2 eggs
salt and pepper
2-3 tbsp caraway seeds (optional and can add more or less depending if you like them or not)


For both varieties, add all ingredients into a large bowl and mix by hand. Form into balls, about 1,5 to 2 inches round. Size consistency is the key to them cooking evenly. Place on a foil lined cookie sheet and bake in a 400 degree oven for 20-25 minutes or until golden brown.

Even though these meatballs are delightful on their own, they are best stewing in a sauce. Plus, each variety has to have their own unique sauce.

For the saltine variety, I've learned to make a simple and savory sauce that consists of equal parts Coke-a-Cola and ketchup. I add oregano, more finely chopped basil, salt and pepper, garlic powder. I think the seasoning change every time until it tastes right. And there you have it.


For the rye bread variety, if your in a pinch, you can use a can of cream of mushroom soup from your shelf in the pantry, but if you want to be super fancy, which I often want to be, you can make your own.

This sauce was adapted from Alton Brown's Green Bean Casserole recipe, where you make your own mushroom soup for the dish. Half and half and butter are used. Need I say more?

Cream of mushroom soup sauce

2 tbsp butter
12 oz of mushrooms, finely chopped (I use the food processor)
2 garlic cloves, minced
2 tbsp flour
1 cup chicken broth
1 cup half and half
salt and pepper
1/2 tsp nutmeg

Melt the butter in a large skillet set over medium-high heat. Add the mushrooms, salt and pepper and cook, stirring occasionally, until the mushrooms begin to give up some of their liquid, approximately 4 to 5 minutes. Add the garlic and nutmeg and continue to cook for another 1 to 2 minutes. Sprinkle the flour over the mixture and stir to combine. Cook for 1 minute.


Add the broth and simmer for 1 minute. Decrease the heat to medium-low and add the half-and-half. Cook until the mixture thickens, stirring occasionally.


Yeah, remember how I said my version of meatballs were my favorite, well after adding this sauce to the second version, I have to say they stand on even pedestals now. If we would have had more left over, I would have loved to add these to the top of egg noodles and made a Swedish meatball concoction. But, alas, there were about 3 left by the time my friends dug into them.


Monday, October 6, 2014

Unrolled Cabbage Rolls

It's been a year since I've bought ground beef from the grocery store.

The reason isn't because of some fad diet or a beef shortage, it's because I've had about 30 lbs of ground beef in my freezer from the portion of cow my household bought about 1 year ago. The dish I am about to describe has used up the last of this delicious ground beef. I have never in my life tasted such flavorful ground beef. Just knowing too it's all beef, no fillers or pink slim, and from a cow that was raised and grazed in Wisconsin makes it all the better.

The last packet was used to make a cabbage roll skillet of sorts, I'm calling Unrolled Cabbage Rolls. I had leftover cabbage from coleslaw I made last week and was trying to come up with an idea of how to use it up. Having just got our NEW cow, and twice as much meat this time, I also wanted to use up that last ground beef packet. With these factors, it was obvious what had to be done.

But traditional cabbage rolls can be a bit of a pain to make and even eat. Considering I am a self proclaimed casserole/skillet/things that are other things queen, I figured, lets make this easier and just throw it all together in a pan. Brilliant! Easy! Fun!

Unrolled Cabbage Rolls

- 1 lb ground beef
- 1 small head of cabbage, cut into 1 inch pieces
- 1 small onion, diced
- 4-5 cloves of garlic, minced
- 1 can of diced tomatoes
- 10-15 fresh plum tomatoes, cut in half
- 1 cup - 1 1/2 cups tomato juice or V8
- 2 cups rice, cooked
- 1/2 cup fresh parsley, chopped
- turmeric, all spice, paprika, salt, pepper, Java rub to taste


Cook rice in a rice cooker or on the stove top. Brown ground beef in large skillet. Add onions, 1/2 the parsley and garlic and continue to brown until onions are translucent. Add seasonings to taste.


Add both canned and fresh tomatoes and 1/2 the tomato juice. Simmer uncovered for about 10-15 minutes until the fresh tomatoes are wilted.
 
Add the remainder of the parsley, cabbage and the rest of the tomato juice to skillet and continue to cook for about 10 minutes uncovered until cabbage is just cooked. Be careful not to overcook, you still want a little crunch to the cabbage. Add more seasoning to taste,


Combine with the cooked rice and that's it!


You can use all green cabbage, but I used red cabbage and green to make it look prettier. And because that's what I had left over. This also makes A LOT! Probably a good 8-10 servings. Gotta love leftovers.

Monday, September 29, 2014

Packers Snackers

Football season is finally underway and with that and the fall weather rolling in it's my favorite time of year to cook. Summer is great for grilling outside, but not a time when I want to be cranking up the heat in the kitchen. Warm kitchen, cold beers, winning Packers, people yelling, dog barking, tasty food is the norm for my Sundays.

I'll start with this week and go back in time since I'm still reveling in the Packers victory over the Bears. ...The Bears still suck...But I'm also still thinking about the open faced mini Ruben sandwiches I made. I think I'm officially calling them Ruben Squares.

Ruben Squares

- 1 sleeve of cocktail ryes bread
- 1 lb extra lean corned beef, minced
- 1 cup sour kraut
- 1 cup thousand island dressing
- 1 cup shredded Swiss cheese
-1/4 cup shredded mozzarella cheese

There were a couple factors that came into play that made this so very delicious. Homemade everything. Well I guess not everything, but the kraut and the thousand island are best if made from scratch.

In the spring, I took a class though the rec department and learned how to ferment cabbage to make sour kraut. I don't think I can ever go back to the canned stuff, it's that good. Here is the batch of kraut that has pretty much lasted me the whole summer.


Thousand island dressing is basically just ketchup and mayo and pickles. Who knew? Again, this is why I stopped buying dressing from the store. So I just mixed equal parts ketchup and mayo, about 1/2 cup of each. Chopped up some of my own canned pickles and dilly beans. Threw in a splash of Worcestershire and white vinegar. Salt and pepper, cayenne pepper, and a bit of minced garlic. Mix it up and you've got a not so secret, secret sauce.

Alright, you've got your homemade dressing and your homemade kraut, the other key ingredient is to use high quality corned beef. I got mine from Jake's Deli, a Milwaukee staple. $29 per pound, and no that is not a typo. Expensive, but well, well worth it. It took me every ounce of will power to not eat the pound of corned beef on my drive home.

Mix all ingredients in a large bowl until the well blended. The measurements are approximate. I basically put everything together so it was equal parts of all ingredients and added the dressing until it was wet, but not too wet. Wet but not too wet, very precise directions here.
 
 Spoon on about 2 tablespoons of mixture onto each cocktail rye. Bake at 350 degrees for about 15-20 minutes or until the cheese is melted.

Before
 After!


My next finger food and football snack I lovingly call meat cupcakes. Or cheeseburger cupcakes. Well it's a thing that's another thing and those are my favorite things. I guess my official name for these are a work in progress, but my girl Better Crocker calls them "Impossibly Easy Mini Cheeseburger Pies" which is a little long winded for me. And I wouldn't say they were impossibly easy, but pretty easy. How about...
 
Pretty Easy Cheeseburger Cupcakes
adapted from Ms. Crocker here
 
For burger mixture
- 1 lb ground beef
- 1/2 small onion
-1 tbsp. Worcestershire
-1 cup shredded cheddar cheese
-6-8 strips of bacon
- garlic salt, salt, pepper to taste
 
For bisquick mixture
-1/2 cup milk
-1/2 bisquick mix
-2 eggs
 
Heat oven to 375°F. Spray 12 regular-size muffin cups with cooking spray. Cook beef and onion over medium-high heat 5 to 7 minutes, stirring frequently, until thoroughly cooked; drain. Cool 5 minutes; stir in already cooked bacon, Worcestershire sauce, garlic salt, S&P, and cheese.
 
In medium bowl, stir bisquick mixture ingredients with whisk or fork until blended. Spoon 1 scant tablespoon bisquick mixture into each muffin cup. Top with about 1/4 cup burger mixture. Spoon 1 tablespoon bisquick mixture onto burger mixture in each muffin cup.
Bake about 30 minutes or until toothpick inserted in center comes out clean, and muffin tops are golden brown. Cool 5 minutes. With thin knife, loosen sides of muffins from pan; remove from pan and place top side up on cooling rack. Cool 10 minutes longer, and serve with garnishes of ketchup and mustard for dipping.


Bite sized meat treats. Good god, I could never be a vegetarian...

Sunday, September 7, 2014

Canned Corn Relish

I recently saw this on a shirt on Etsy and I knew right away it had to be mine. I eat local, because I can.
Coming into my 4th or so year of canning I have been trying to broaden my canning skills and decided to buy the Ball "Complete Book of Home Preserving" Cookbook. Basically the canning bible. I swear every time I look through it I find an something new I want to try that I can't believe I didn't notice before. I mean the book is about 2 1/2 inches thick.

A few weeks ago, I had a surplus of corn on the cob. This corn came from Wilferts Farm in Manitowoc and I don't know why, but they have always had the best corn and continue to not disappoint. I decided to look though my preserving book and see how I can turn this corn into something I can enjoy for a while. I found a recipe for corn relish and decided to go with that.

Corn Relish
Recipe has been copied from the freshpreserving.com, the official Ball Jar website. Because I have been told by the professionals that to keep the preserving safe, recipes should not be tweaked, this must be followed exactly as written.

  • 2 cups white vinegar
  • 2/3 cup sugar
  • 1 Tbsp salt
  • 4 cups cooked corn kernels (about 8 ears)
  • 2 cups diced mixed red and green bell peppers (about 2 large)
  • 3/4 cup diced celery (about 2 stalks)
  • 1/2 cup finely chopped onion (about 1 small)
  • 1 Tbsp dry mustard
  • 1 tsp celery seeds
  • 1 tsp ground turmeric
  • 6 (8 oz) half pint glass preserving jars with lids and bands
  •  
    PREPARE boiling water canner. Heat jars and lids in simmering water until ready for use. Do not boil. Set bands aside.
     
    COMBINE vinegar, sugar and salt in a large saucepan. Bring to a boil, stirring to dissolve sugar. Add corn, red and green peppers, celery, onion, mustard, celery seeds and turmeric. Reduce heat and simmer 15 minutes, stirring frequently.
     
    LADLE hot relish into hot jars leaving 1/2 inch headspace. Remove air bubbles. Wipe rim. Center hot lid on jar. Apply band and adjust until fit is fingertip tight.
     
    PROCESS filled jars in a boiling water canner for 15 minutes, adjusting for altitude. Remove jars and cool. Check lids for seal after 24 hours. Lid should not flex up and down when center is pressed.

     
    This was a pretty short process too. Sometimes my canning endeavors can occupy the entire day, but this was something I could knock out in an hour or two. The book and website suggest to use the corn relish on hot dogs or hamburgers. I just eat is straight up as a side dish and was quite happy with the flavor.

    Tuesday, July 15, 2014

    Balsamic - Two ways

    I know. I have been slacking. And I've been told that I've been slacking. Which isn't totally a bad thing since it's telling me that I have fans. Or at least one fan.
    As much as I love cooking, in the summer sometimes it's hard to get in the kitchen and get cooking. Summer meals are usually taken over by the outside grill and I have to admit, I let the boys take care of that. But I have had some creations stashed away in my apron pocket that I've been meaning to send out into cyberspace.
    I'm happy to have easy access to a Farmer's Market within walking distance and since summer is the best time to eat salads made with these fresh ingredients, I've been making my own salad dressing. Since doing this I don't think I'll buy any from the store again.

    Creamy Balsamic Salad Dressing

    -1/2 cup olive oil
    -1/4 cup balsamic vinegar
    -1 tsp, minced garlic (if using fresh, 1-2 cloves minced)
    -1 1/2 tbsp. mayonnaise
    -1 tsp lemon juice
    -1 tbsp. Dijon mustard
    -1 tsp sugar
    -dash of Worcestershire
    -salt and pepper to taste
    -dash of celery salt or Morton's Nature's Seasoning

    Mix all ingredients in a ball canning jar with a plastic lid or any kind of container with a airtight lid and shake well. Makes about 3/4 cup.
     As always, make sure the lid is on tight. I say this from experience. You can whip this up pretty quickly and I've done so in the morning before work. But I've also shook the jar and not held the lid on tight and ended up wearing said dressing. It's better as a dressing than a perfume.


    Crock pot meals are also good summer meals since they don't heat up the house and they are pretty much ready when you get home. Throw a chunk of meat in in the morning, get a delicious meal in the evening.

    Balsamic Beef Roast

    - 2-3 lb beef chuck roast
    - 1 cup beef broth
    - 1/2 cup balsamic vinegar
    - 1 tbsp. Worcestershire sauce
    - 1 tbsp. soy sauce
    - 1 tbsp. honey
    - 4-5 cloves of garlic, finely chopped

    Place beef roast in crock pot. Add all ingredients. Cook on low for 6-8 hours.

    I served it on mashed potatoes with broccoli. The juice it cooks in make a nice gravy too.


    Sunday, May 18, 2014

    Seafood Lasagna

    Last weekend was my brother's birthday and being that I am the nicest sister in the world and I also live with the guy I made him a seafood lasagna for supper and also a dessert. This lasagna recipe is one of my favorites and it's from a Paula Deen recipe, so is uses butter and cream and all things wonderful.

    Seafood Lasagna

    Ingredients
    - 12 lasagna noodles
    - 4 tbsp. butter
    - 1 small onion, chopped finely
    - 3 cloves of garlic, minced
    - 3 tbsp. flour
    - 2 1/2 cups half-and-half
    - 1 1/2 cups graded Romano cheese
    - 1 cup graded parmesan cheese
    - 1 lb sea scallops
    - 1 lb shrimp, pealed and deveined
    - salt, pepper, Italian seasoning

    Preheat oven to 375 . Spray a 9 x 13 inch pan with cooking spray.
    In a large pot cook lasagna noodles according to package, until they are just done. Drain and set aside.


    Melt butter in a large skillet and cook the onion over low heat until soft. Add the garlic and cook about 1 minute more. Over medium-low heat, stir in the flour with a whisk, then gradually add the half-and-half, allowing the sauce to thicken slightly before adding more. When the sauce has thickened to about the consistency of whipping cream, add both cheeses and stir well. Save about a 1/2 cup total of both cheeses to add to the top of the assembled lasagna. Add salt, pepper and Italian seasoning and stir again.


    Add the scallops and cook for about 3 to 4 minutes. If the scallops are on the larger side, cut them in half with the spatula. Add the shrimp and cook just until the shrimp turn pink. Turn off the heat.
    Spoon about 2 tablespoons of the sauce from the skillet into the bottom of the pan. Cover the bottom of the pan with noodles, placing them side by side. Spoon 1/3 of the sauce and seafood over the noodles. Lay down a layer of noodles, 1/3 of the sauce, and remaining seafood. Cover with the one last layer of noodles and the remaining sauce. (For the top layer, do not spoon any seafood on top of the noodles; just use the sauce.) Top with remaining cheese. Make sure noodles are coated with sauce.


    Bake for 20 to 25 minutes, uncovered, until bubbly. Allow to sit for 10 minutes before slicing,

     
    The sauce can be a little runny, but it thickens after it sits. Also for reheating a put it right back in the oven and it tastes just as good the 2nd and 3rd day, which is great for seafood, because that's not usually the case.


    So it's not a birthday without cake! Or dessert in general. I found the longest title for a dessert and had to try it...Ultimate Pretzel Crusted Peanut Butter Cookie Candy Brownie Bars...Whew!

    The bars have all that and more and now I know why the title is so long, there is a lot of stuff packed into these bars! At least they are relatively easy to make since it uses 2 box mixes as 2 of the layers. But to keep up the trend of being easy, lets just call them Peanut Butter Cup Bars.

    Peanut Butter Cup Bars

    - 2 1/2 cups crushed butter pretzels
    - 1 cup melted butter
    - 5 tbsp. sugar
    - 1 Betty Crocker Peanut Butter Cookie Mix and all the ingredients the mix calls for
    - 1 brownie box mix of your choice and all the ingredients the mix calls for
    - snack size Reese's Peanut Butter Cups (2 - 10.5 oz bags)


    Place pretzels in a large ziplock bag and crush with rolling pin.
    Mix together pretzels, sugar and melted butter. Press into a lightly greased 9 x 13 in pan. Set aside pretzel crust and make the cookie dough.
    Make the cookie dough according to the package. Lightly press the cookie dough evenly onto the pretzel crust.
     
    Unwrap 24 snack size Reese's Peanut Butter cups and cover the cookie dough with the candy.
    Prepare the brownie mix according to the box and pour evenly over the peanut butter cups. Bake at 350 degrees for 40-45 minutes.


    Sunday, April 20, 2014

    Easter Ham and Biscuits

    Easter is not my most favorite of holidays, but when it comes down to it, I love any holiday that gives me an excuse to cook for my family. Since my ham and rolls were so delightful the last time I made them, I thought it was time for an encore. I mean, Easter equals ham in my opinion.

    On the menu today was ham and rolls, done in the style of my post from Sunday, March 16th, prosciutto wrapped asparagus and homemade buttermilk biscuits. I know, gluten intolerant beware, but this was my first attempt at biscuits so I wanted to have back-up rolls just incase. Well I'm proud to report the rolls were not needed, but still eaten none the less.

    First step to making Easter lunch is, make yourself a mimosa! Don't worry, I wasn't drinking alone. Not that that would be frowned upon or anything. The reason I mention the drink though is I like to add a splash of grenadine to my OJ and champagne, so this was a perfect opportunity to use my freshly canned cherry juice (homemade grenadine of sorts.)

    My latest rec department class I learned how to can maraschino cherries, cherry juice, and flavored simple syrups for cocktails. We made basil and ginger flavored syrups, so I hope to be using these in a craft cocktail soon. The cherry juice came from leftover liquid from the maraschino cherries and was pretty tasty. Not as super sweet as grenadine, so it was a nice change. The cherries had to sit for 2 weeks, so they weren't quite ready for tasting.

    OK, now with breakfast cocktail in hand, time to cook! I'll start with the biscuits since this was the newest to me and honestly the scariest. I researched some recipes, reading and re-reading the directions with them all saying 'do not overwork the dough' and this scared me. I thought, one kneed too many and my biscuits are finished. Thankfully they turned out just right and I can now make them with confidence and experience.

    I did make my own buttermilk, which I have also never done before, and it was super easy.

    DIY Buttermilk

    -Just under 1 cup of milk (I used vitamin D milk/whole milk)
    -1 tablespoon of lemon juice (you can use lemon juice or white vinegar)

    Add lemon juice to a glass measuring cup. Pour in milk to reach the 1 cup line. Let stand for 5 minutes. Once it has rested, it is ready to be used.


    I doubled the recipe because I needed just under 2 cups for the biscuits.

    Buttermilk Biscuits

    -4 cups flour
    -1 tablespoon plus 1 teaspoon baking powder
    -1 teaspoon baking soda
    -1 teaspoon salt
    -1 teaspoon sugar
    -2 sticks (1 cup) unsalted butter, cold, cut into small pieces
    -1 3/4 cups buttermilk

    Preheat oven to 375. Combine flour, baking powder, baking soda, salt, and sugar in a large bowl. Cut in butter with a pastry blender until the mixture forms crumbles.
    Pour in buttermilk and fold it into the mixture, working in all directions, until the dough just comes together. The dough will be sticky; do not over mix.
    Lay out dough on a lightly floured workspace. Gently spread out dough to a circle at about a 1 inch thickness. Again, do not overwork the dough. Use floured circular dough cutter, or glass to cut out biscuits.
    Place biscuits on an unlined baking sheet. Brush tops of biscuits with leftover buttermilk.
    Bake, rotating sheet half way through, until the biscuits are golden brown, about 18-20 minutes. Cool on wire rack.


    Prosciutto Wrapped Asparagus

    -1 bunch of asparagus
    -18-20 slices of prosciutto
    -salt and pepper
    -2 tablespoons of olive oil

    Marinate asparagus in olive oil, salt and pepper. I used a flavored balsamic salt and fresh ground pepper. Once marinated for however long you choose, I did about an hour, take the strips of prosciutto and wrap, starting just under the top part. Arrange on a baking sheet.

    Adjust baking rack in oven to top rack or 5-6 inches below the broiler. Broil for 3-4 minutes, remove from oven, flip each one over, and return to oven. Broil another 3-4 minutes until prosciutto is crisped and browned.

    I am tempted to try this with bacon next time, but the thinness of the prosciutto was definitely desirable.

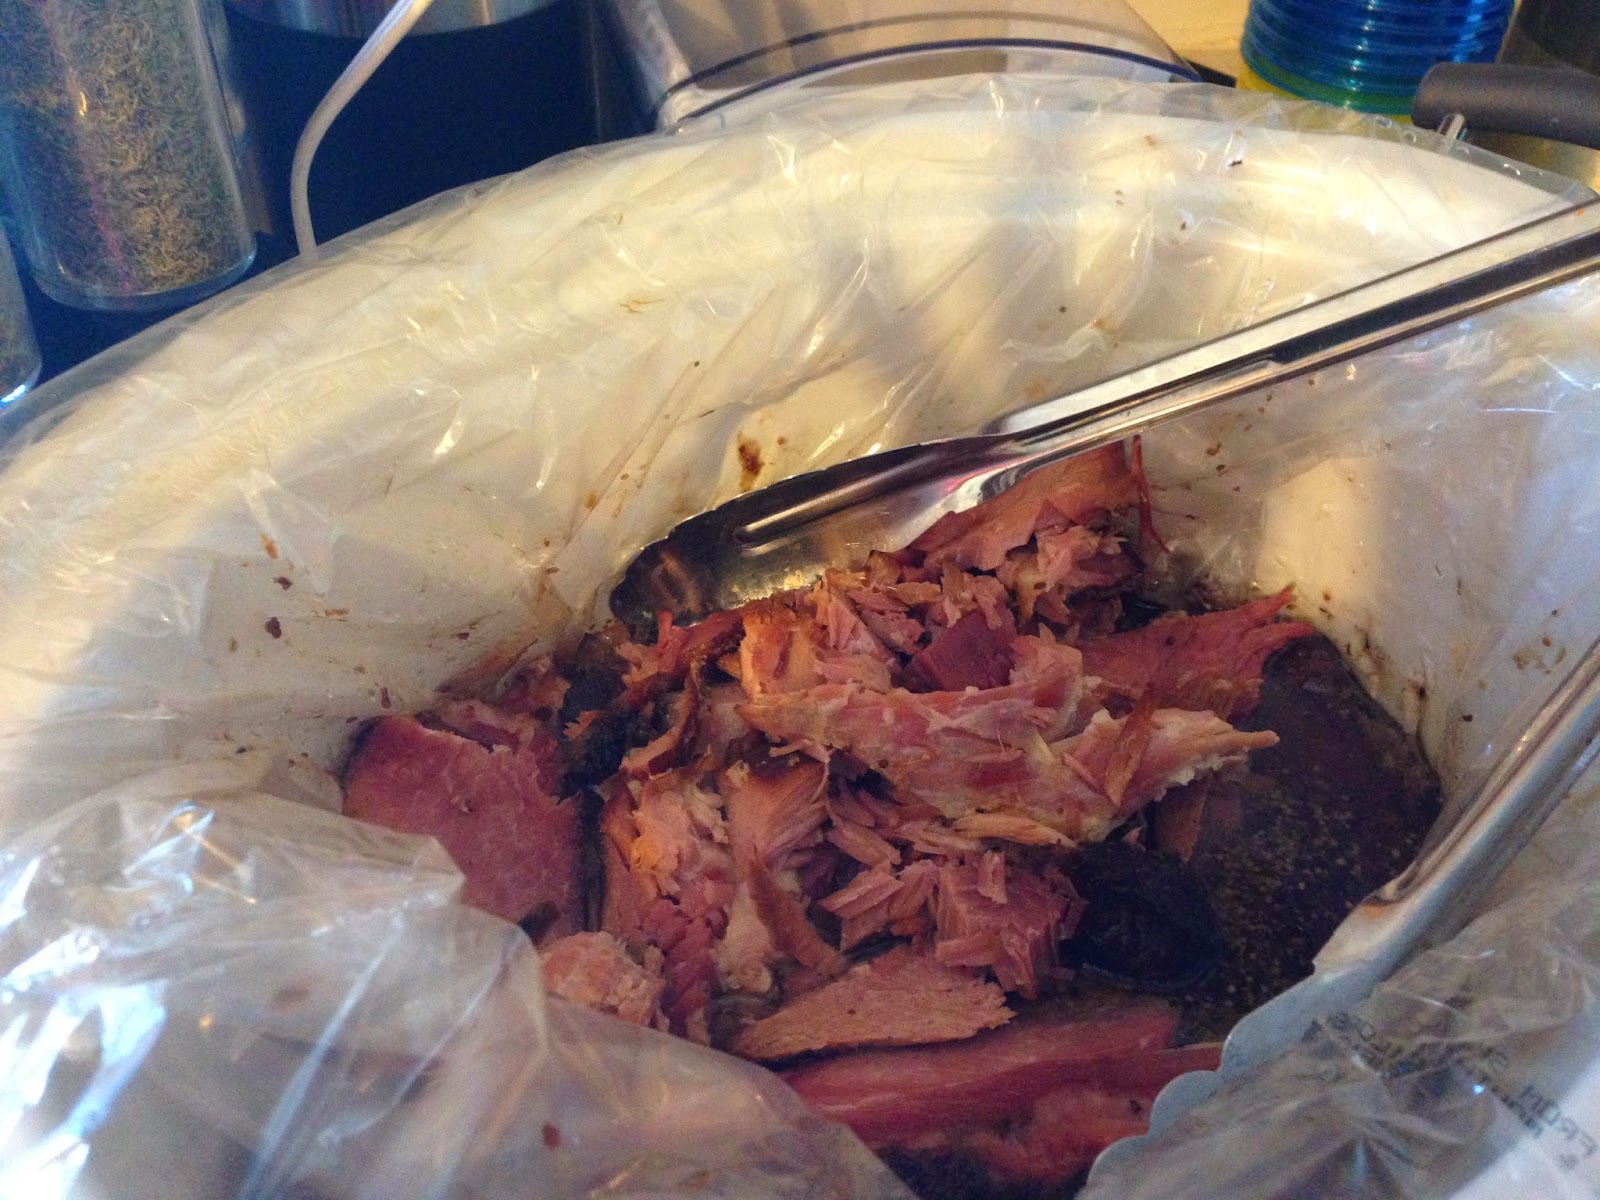
    One last shot of the ham. It turned out amazing again.
     
    Happy Easter! Or Happy Ham Day!

    Tuesday, April 8, 2014

    Tailgate Time

    Spring is in the air! Spring, baseball, and tailgating! This also means it's time to start smelling the smells of sizzling food on a hot charcoal grill.

    This past week my brother and I prepared and organized a tailgate for Opening Day for Brewers baseball. Besides having the obvious and necessary sausages and beers, I had made some finger foods and a French onion dip to go along with the staples.


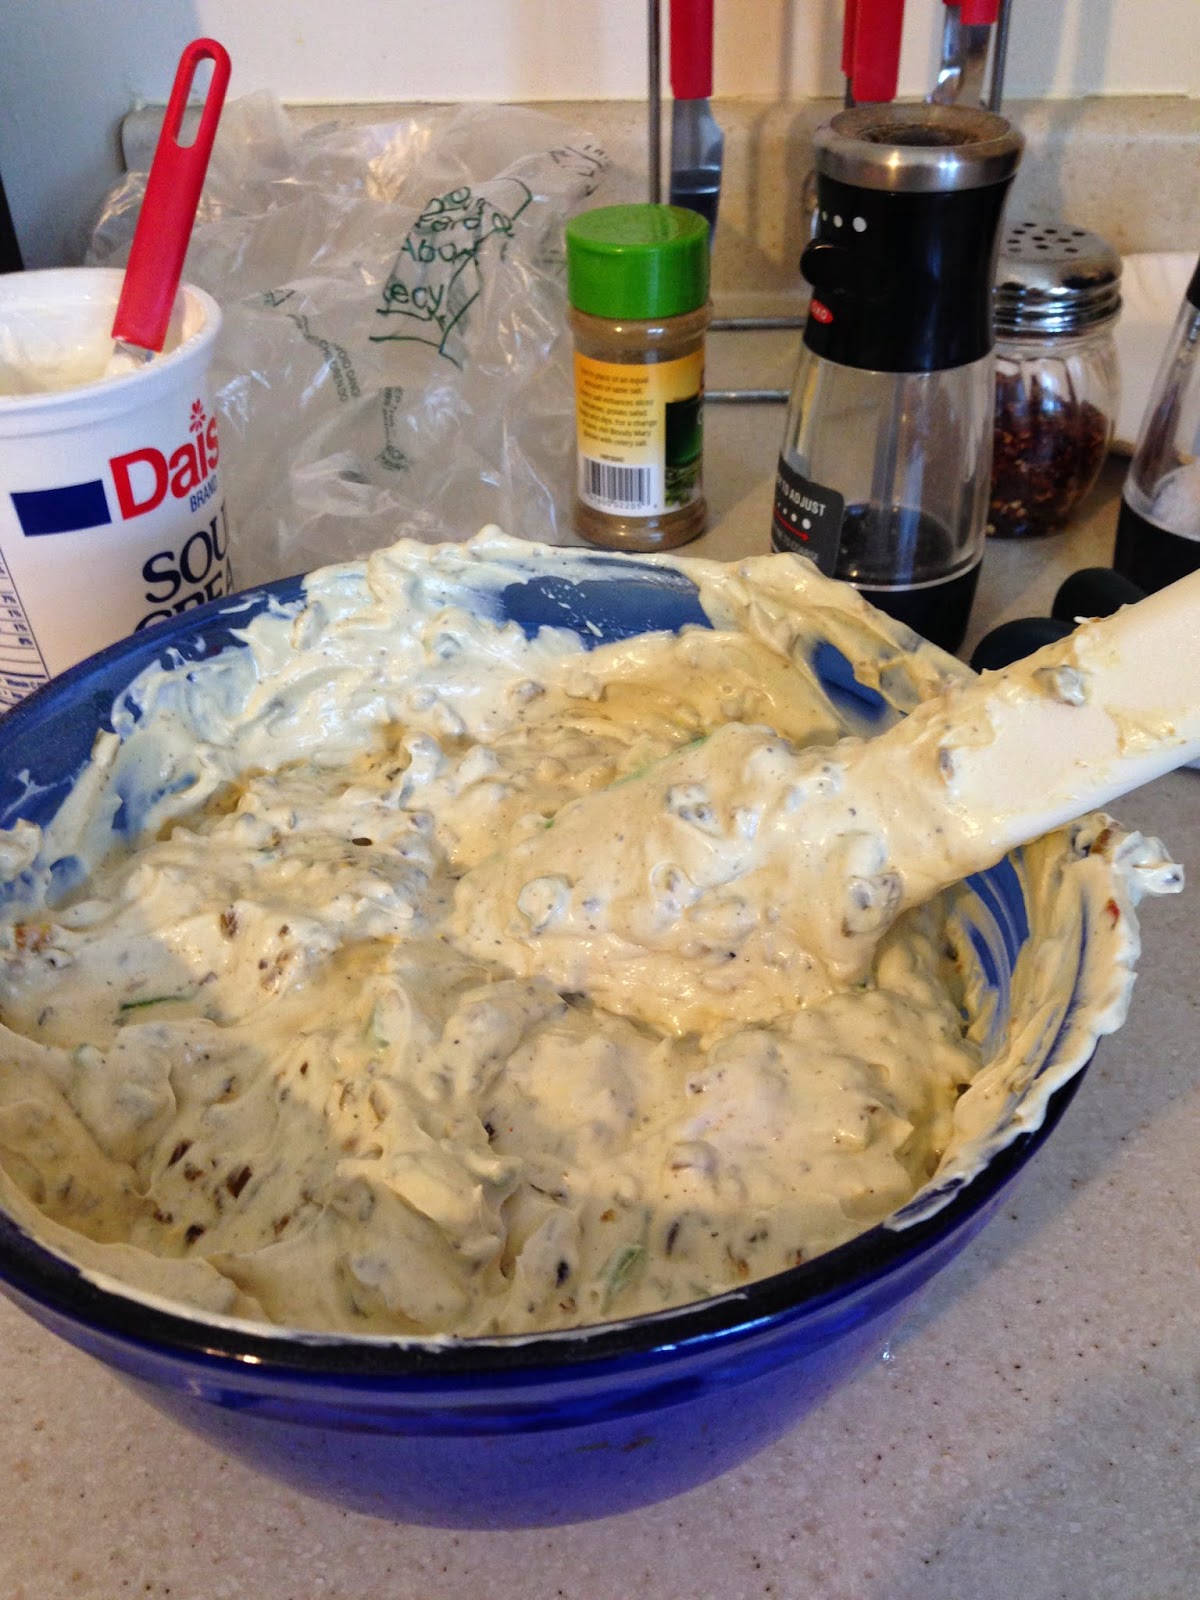
    French Onion Dip

    Homemade French onion dip is not only relatively easy, but I think tastes much better than the already prepared dip from the store.

    2 tbsp butter
    2 onions, chopped
    2 shallots, chopped
    2 cups sour cream
    1/2 cup mayo
    1 tsp celery salt
    1 tsp turmeric
    1 tsp Worcestershire
    chopped green onions
    salt and pepper

    In a pan, heat the butter over medium-high heat. I also added a tablespoon of bacon grease I had laying around from breakfast just for good measure.


    Add the onions and sauté, stirring occasionally, until golden brown and caramelized. Add the shallots and continue to sauté, until the onions and shallots are dark brown. I also added turmeric, celery salt, regular salt and pepper. Then add the garlic and sauté a bit more. Remove from the heat and set aside to cool to room temperature.


    In a bowl, mix the sour cream, mayonnaise, a bit more celery salt, turmeric, salt, pepper and Worcestershire. Fold in the onion mixture once it's cooled. Refrigerate at least 1 hour or overnight. You can garnish with green onions or just mix 'em in like I did. Serve with chips.


    Tortilla Roll Ups

    The other snack I made has been a new favorite of mine and those I cook for, tortilla roll ups. Of course I made way to many, as I like to do and took my left overs to work. They were devoured quickly and I was even offered money to make more.
     
    So these are easy, but time consuming. I made two kinds, Italian and Southwest. Both start with a flour tortilla, I used 10 inch in size. Spread cream cheese on the tortilla, sprinkle with shredded cheese and layer lunchmeat. Roll up and secure with plastic wrap or tin foil. Keep in the fridge for a couple hours and cut into bite sized pieces, cutting off the ends and eating while making or save for later.

    For the Italian variety I used chive cream cheese, mozzarella shredded cheese, salami as the lunchmeat and added chopped fresh basil.

    For the Southwest I used chipotle flavored cream cheese (it's new from Philadelphia, it's amazing and gives a nice kick!) cheddar jack shredded cheese, turkey for the lunchmeat, bacon pieces and some green onions.

    I even brought in the ends to work the next day and they were almost all eaten before lunch time in my office. This has become a new go-to snack for me.